
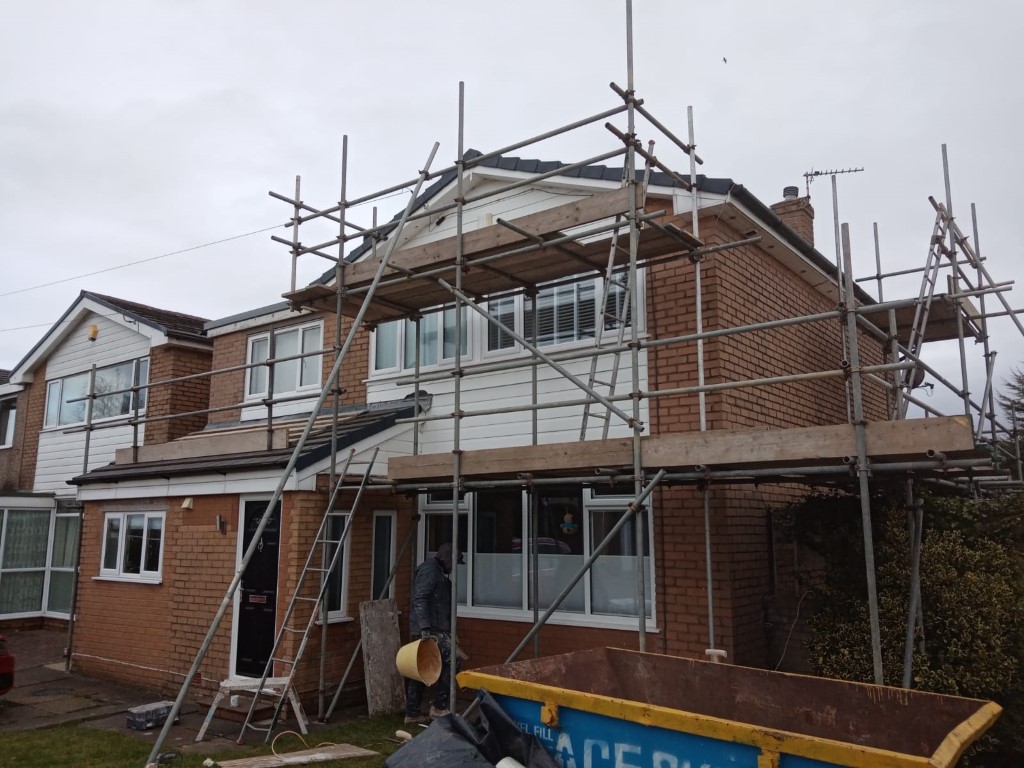
As always the first jobs was to sheet the floor and windows. Next was a full anti fungal wash all of sides needed to be done throughly. The next job was to pull off the plastic cladding then strengthen up the timbers and counter Barton the areas ready for render boarding.
After all boards were applied and fixed. We were ready for beading fixed with base coat and levelled with a laser and spirit levels.
Next was the first pass of base coat this was applied then flattened with a serrated edge. With reinforced mesh embedded with stress patches in vulnerable areas. We used high flex base coat on the render board.
Next we was ready for the second pass of base coat ruled with edges closed with a spatula then rubbed with a sponge float. After the base coat was cured we were ready for primer the colour of choice was Connie .
The next job was applying the 1.5mm silicone thin coat render this was applied the rubbed up with a plastic float. After the silicone thincoat render was dry we removed sheets from windows then used cleaners were needed. All sheets off floors were tidied into the skip.


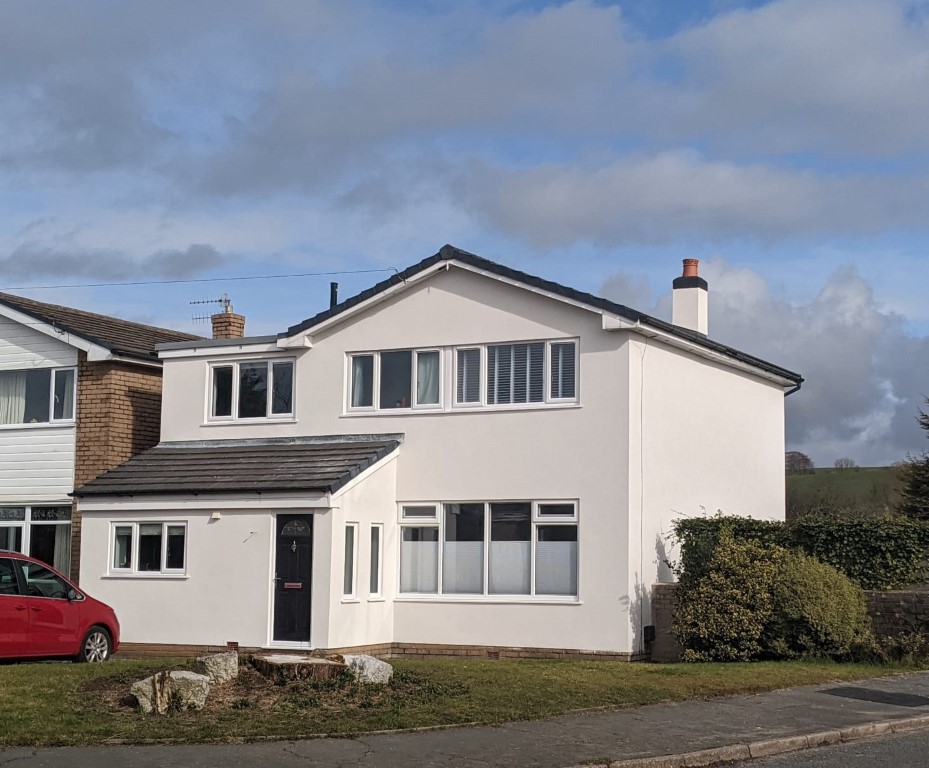


This job was completed in Johnstons silicone enhanced 1.5mm thin coat render the colour was Connie