As always the first part of any render job is sheeting up. Yes it takes along time and can be tiresome but it saves a lot of time at the end. Every window, gutter, soffits etc.


The next step was the beading. We always stick beads on never nailing as a nail fixing can bend the plastic. Beading is very important so we always level and double check using a laser if possible.
On this particular job we needed to apply render board above some of the new windows. Also some of the lintels needed a key coat primer as the surface is to smooth for direct application of basecoat.
The next stage was first application of high performance basecoat. As always we apply the first coat with 2/3rds of the overall thickness. Rule off with a serrated edge embedding reinforcement mesh. With stress patches were needed
Now it was ready for the second pass of high performance basecoat. This coat is spread then ruled flat. Then left to pick up as timing is key. Then sponged and spatted leaving as neat and flat a surface as possible.
After leaving to cure for the recommended time. The job was ready to be primed. The colour chosen for this job was Connie.The primer is applied with rollers and cut in with brushes.
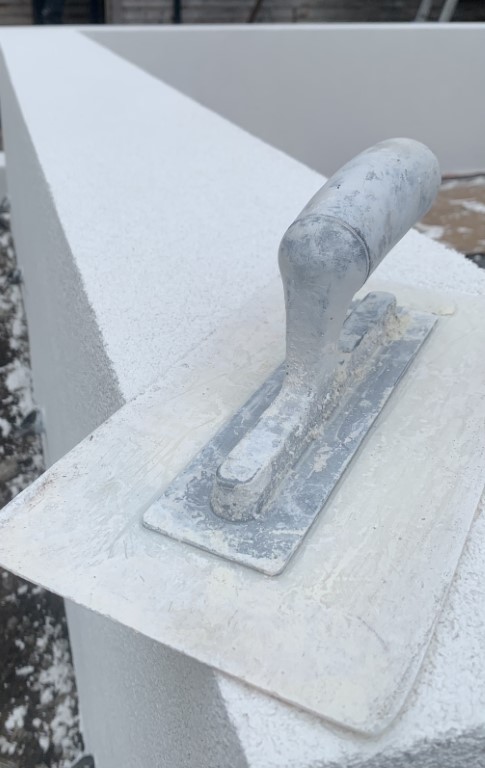
Finally the property was ready for topcoat. After the buckets were mixed the topcoat is applied. It’s applied as tight as possible then rubbed up with a plastic float in a circular motion.
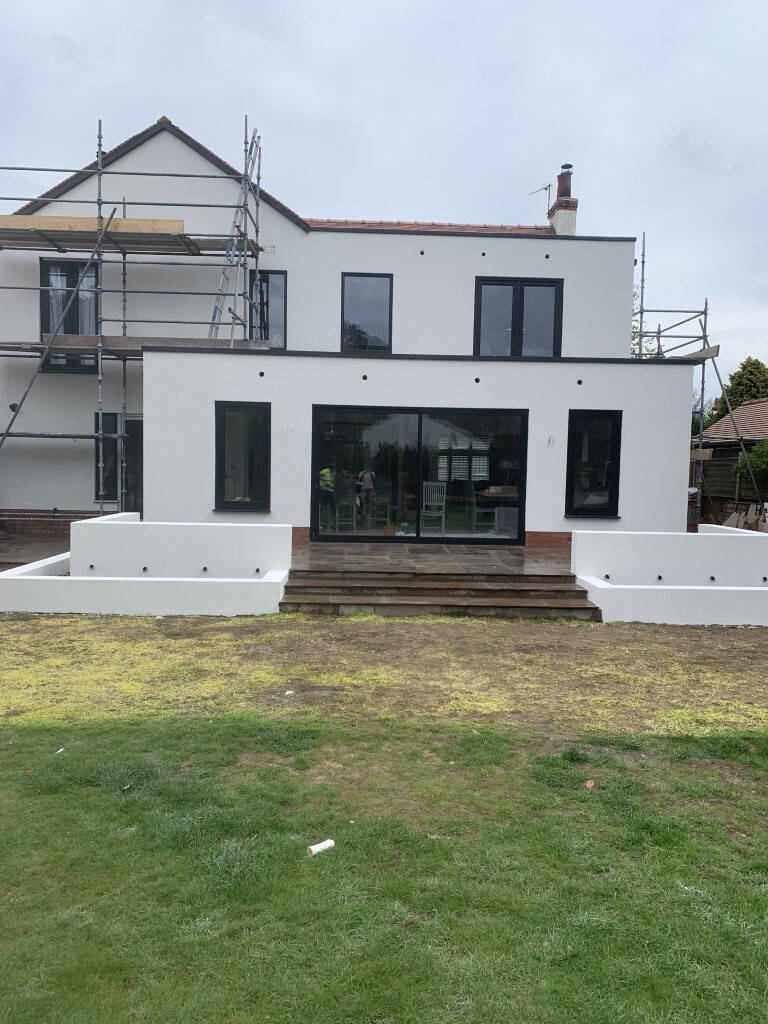
When the silicone thincoat render was dry. The next job was a full clean up operation. This involved taking all sheeting off windows with a wipe down. All gutters put back up we’re needed. All sheeting off the floor up and into the skip. Lastly with a spray down to leave as clean as possible.