The first job as always was to sheet up the floor as it would all be easier cleaning at the end of the job. Secondly as there was no knocking off was to bed the beads. This job had a high damp course. We used a laser level to get perfectly plumb beads. Next we sheeted up windows, taped soffits and gutters all ready for the next stage.


Now the preparation was done it was now time to mix up the basecoat. After basecoat was applied we used serrated edges then cut and laid reinforced mesh as close to the surface as possible. With stress patches over and under windows and any weak places on the substrate. Next job was the second pass of basecoat. Applied then ruled and passed with a spatula. Then rubbed up filling any hollows when ready to achieve a flat uniform surface
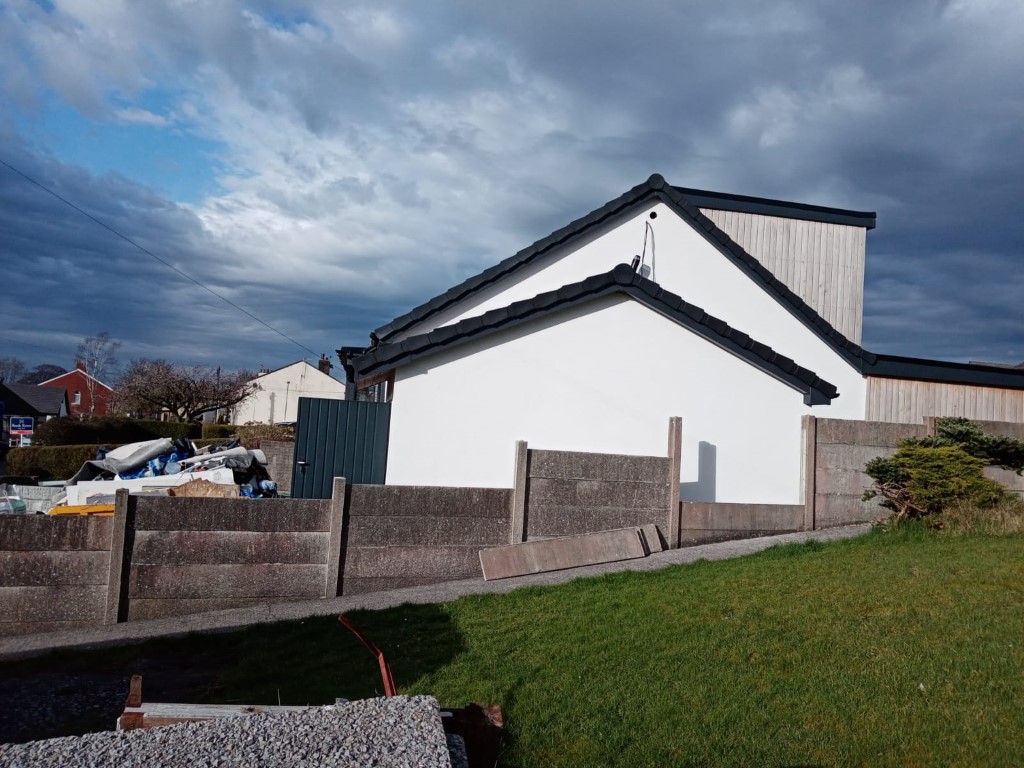
Next was the primer. The customer chose the colour Connie . We applied with brushes and rollers covering all areas. Now the job had really took shape ready for the final coat. This was done in silicone 1.5mm applied with a trowel then rubbed up with a plastic float.
Finally the big clean up. This was made a lot easier thanks to all the sheeting and taping prior. Once sheets were rolled and put in the skip. We spray and wipe windows and door frames. Please take a look at the photos of all the different stages.
The job was done in a Johnstone’s stormshield silicone system.