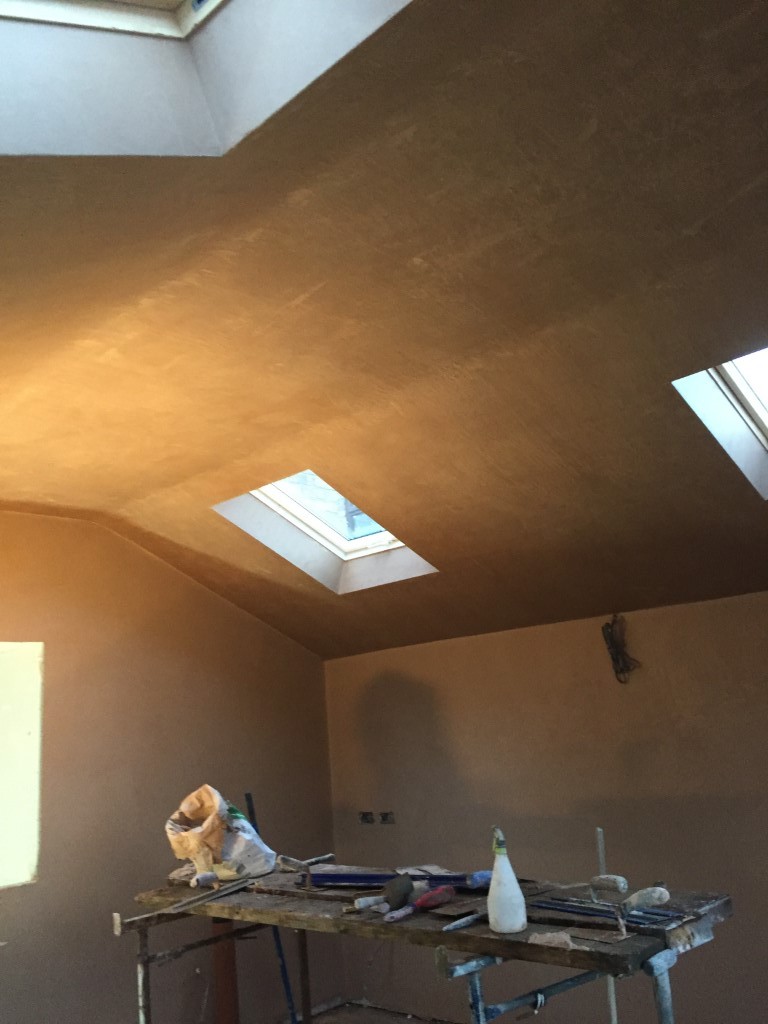

Skimming is a plastering art that needs great attention to detail. As it’s the internal finish prior to being painted. Catching ,the set at the right time is key to a top finish. Experience of different backgrounds is also key to winning the gauge.
PVA Blue Grit or Thistle Bond-it
These backgrounds are prepared to existing over skims or high suction backgrounds.
Plasterboard
Skimming onto boards require scrim tape on all angles and joints
Floating
Skimming into floating requires a key in the backing coat usually rubbed up with a float. If skimming the day after it may require PVA also.
Skimming stages
Skimming should always be done in two coats. The first coat is applied then flattened with a trowel or skimming spatula.
The 2nd coat should be a freshly mixed batch and applied as neatly as possible.
The set should then be flattened or 1st trowel. On high suction backgrounds the skimming will need flattened immediately on low suction it’s best to leave until ready. As said earlier in the blog timing is key
2nd trowel needs a lot of attention filling out any marks , hollows, slacks. The neater the earlier stages have been the easier this stage will be. This stage usually requires water.
3rd trowel all marks should now be filled and any marks will be out. Requires water and best to cross trowel to make sure everything is correct
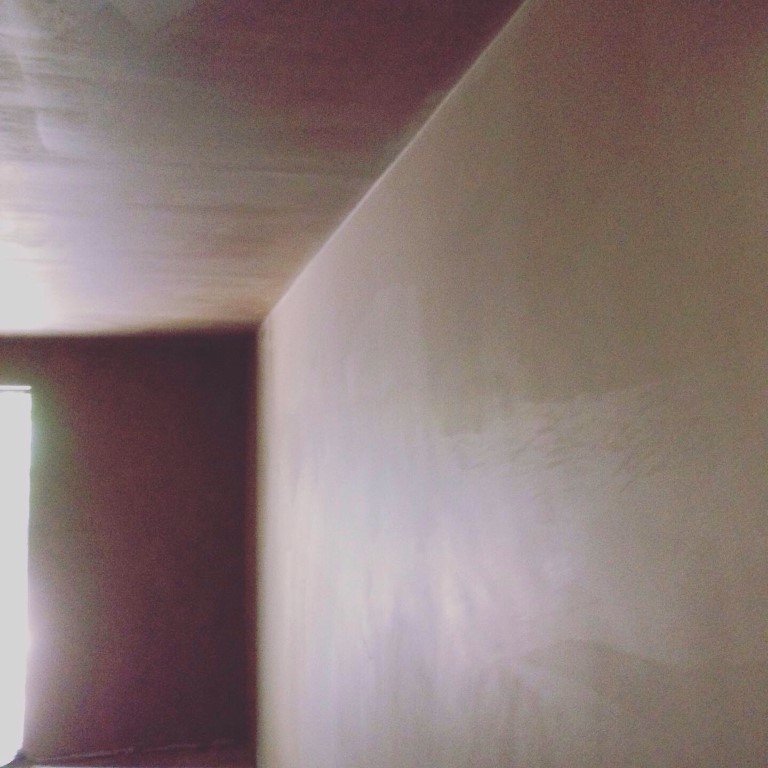
Final polish
This is by far the easiest stage it needs a dry trowelling to achieve a smooth neat finish.
Everyone has different methods and ways to achieve there best work. This is just the way we do it. We have had great results and take great satisfaction looking at the painted finish.